Fig は5人のエンジニアと Expo だけで、数百万人の食の安全を支えている
Fig は、食事制限のある何百万人もの人々が安全に食べられるものを見つけられるよう支援している。5人のチームが Expo SDK と EAS Update を武器に、安定したリリースと高速なイテレーションをどう実現しているかを紹介する。
日本語
コピー

Fig(Food is Good)は、あらゆる食事制限やアレルギーを持つ人が、本当に食べられるものを探せるようにするためのものだ。健康に深刻な影響を及ぼす反応を避けるためである。
成分表示のスキャンから安全な商品の発見、レストランが特定のニーズにどこまで対応しているかの確認まで、複雑な食事要件を抱える人の食事を、Figはより手間なく、より安全にする。何百万人もの人(Figチームの大半も!)が、Figを使って安全で確信のある食事の選択をしている。
昨年、私たちはExpo App Awardの最終選考に残った。Expoチームは私たちのアプリのネイティブな操作感と滑らかな機能を評価してくれた。このブログではその部分を書く。
なぜExpoなのか
Figは標準的なReact Nativeアプリとして始まり、開発速度と安定性のためにExpoを段階的に取り入れてきた。
エンジニアは5人しかおらず、複雑さに時間を割く余裕はほとんどない。コミュニティパッケージに何度か痛い目に遭った——突然壊れ、誰もメンテナンスしていない——ので、SDKを段階的に導入することにした。使ううちにこれらのライブラリを信頼するようになり、今後さらに導入する予定だ。昨年MicrosoftがAppCenterを終了したときには、ホットアップデートをExpoのEASシステムに移行し、重要なJavaScriptパッチを配信している。
Expo SDKはFigの成功に不可欠
以下は、Figが小さなチームで高性能なアプリを素早く作るのに役立ったExpo SDKパッケージの一部だ。
expo-image
expo-imageのおかげで、Figは画像とSVGを効率よくレンダリングでき、コミュニティのユーザーにとってアプリの体験がより快適になった。React Native標準のImageコンポーネントはSVGをサポートしていないため、当初はすべてのSVGレンダリング、特にアイコンにreact-native-svgを使っていた。SVG文字列をSvgXmlに渡し、stroke、stroke-width、fillといった属性を設定するのはとても簡単だった。
しかしSoftware Mansionのこのブログを読んで、SVGからコンポーネントツリーを生成するにはコストがかかり、静的なアイコンには大げさだと気づいた。アイコンをexpo-imageに移行し、SVGレンダリングはネイティブライブラリに任せ、SVGの内部構造を操作したりアニメーションさせたりする必要があるときだけreact-native-svgを使うようにした。
expo-imageはSVGの変更能力が限られている(tintColorはすべての非透明ピクセルの色しか設定できない)ため、stroke-widthなどの属性を調整したいときはSVGをいくつか余分にバンドルすることになるが、この性能上のコストは払う価値があると考えている。
react-native-svg:
// Imports svg as a string
import thumbsUpIcon from '@assets/icons/thumbs-up.svg';
import { iconDefault } from '@utils/colors.util';

const Icon: FunctionComponent<IconProps> = ({
  iconSize,
  color,
  rotation,
  transform,
  height,
  width,
  ...otherProps
}) => {
  const parsedIconSize = !height && !width ? getIconSize(iconSize) : undefined;

  const sizeProps: { height?: NumberProp; width?: NumberProp } = {};
  if (parsedIconSize || height) {
    sizeProps.height = parsedIconSize ?? height;
  }
  if (parsedIconSize || width) {
    sizeProps.width = parsedIconSize ?? width;
  }

  // svg string is passed via `xml` in otherProps
  return (
    <SvgXml
      color={color ?? iconDefault}
      transform={rotation ? [{ rotate: `${rotation}deg` }] : transform}
      {...sizeProps}
      {...otherProps}
    />
  );
};
expo-image:
import { Image } from 'expo-image';
import styled, { css } from 'styled-components/native';

// Icons are `require`d from the assets folder, like other static assets
export const iconAssets = {
  thumbsUp: require('@assets/icons/thumbs-up.svg'),
  ...
} as const;

export const StyledImage = styled(Image)<{
  width?: number;
  height?: number;
  rotation?: number;
}>`
  ${({ width }) =>
    width !== undefined &&
    css`
      width: ${width}px;
    `}
  ${({ height }) =>
    height !== undefined &&
    css`
      height: ${height}px;
    `}
  ${({ rotation }) =>
    !!rotation &&
    css`
      transform: rotate(${rotation}deg);
    `}
`;

const Icon: FunctionComponent<IconProps> = ({
  iconSource: iconName,
  iconSize,
  height,
  width,
  rotation,
  color,
  ...otherProps
}) => {
  const parsedIconSize = !height && !width ? getIconSize(iconSize) : undefined;

  // Icons are referenced by iconAssets key, native image libraries handle the rendering
  return (
    <StyledImage
      tintColor={color}
      source={typeof iconName === 'object' ? iconName : iconAssets[iconName]}
      width={parsedIconSize ?? width}
      height={parsedIconSize ?? height}
      rotation={rotation}
      contentFit="contain"
      {...otherProps}
    />
  );
};
expo-location
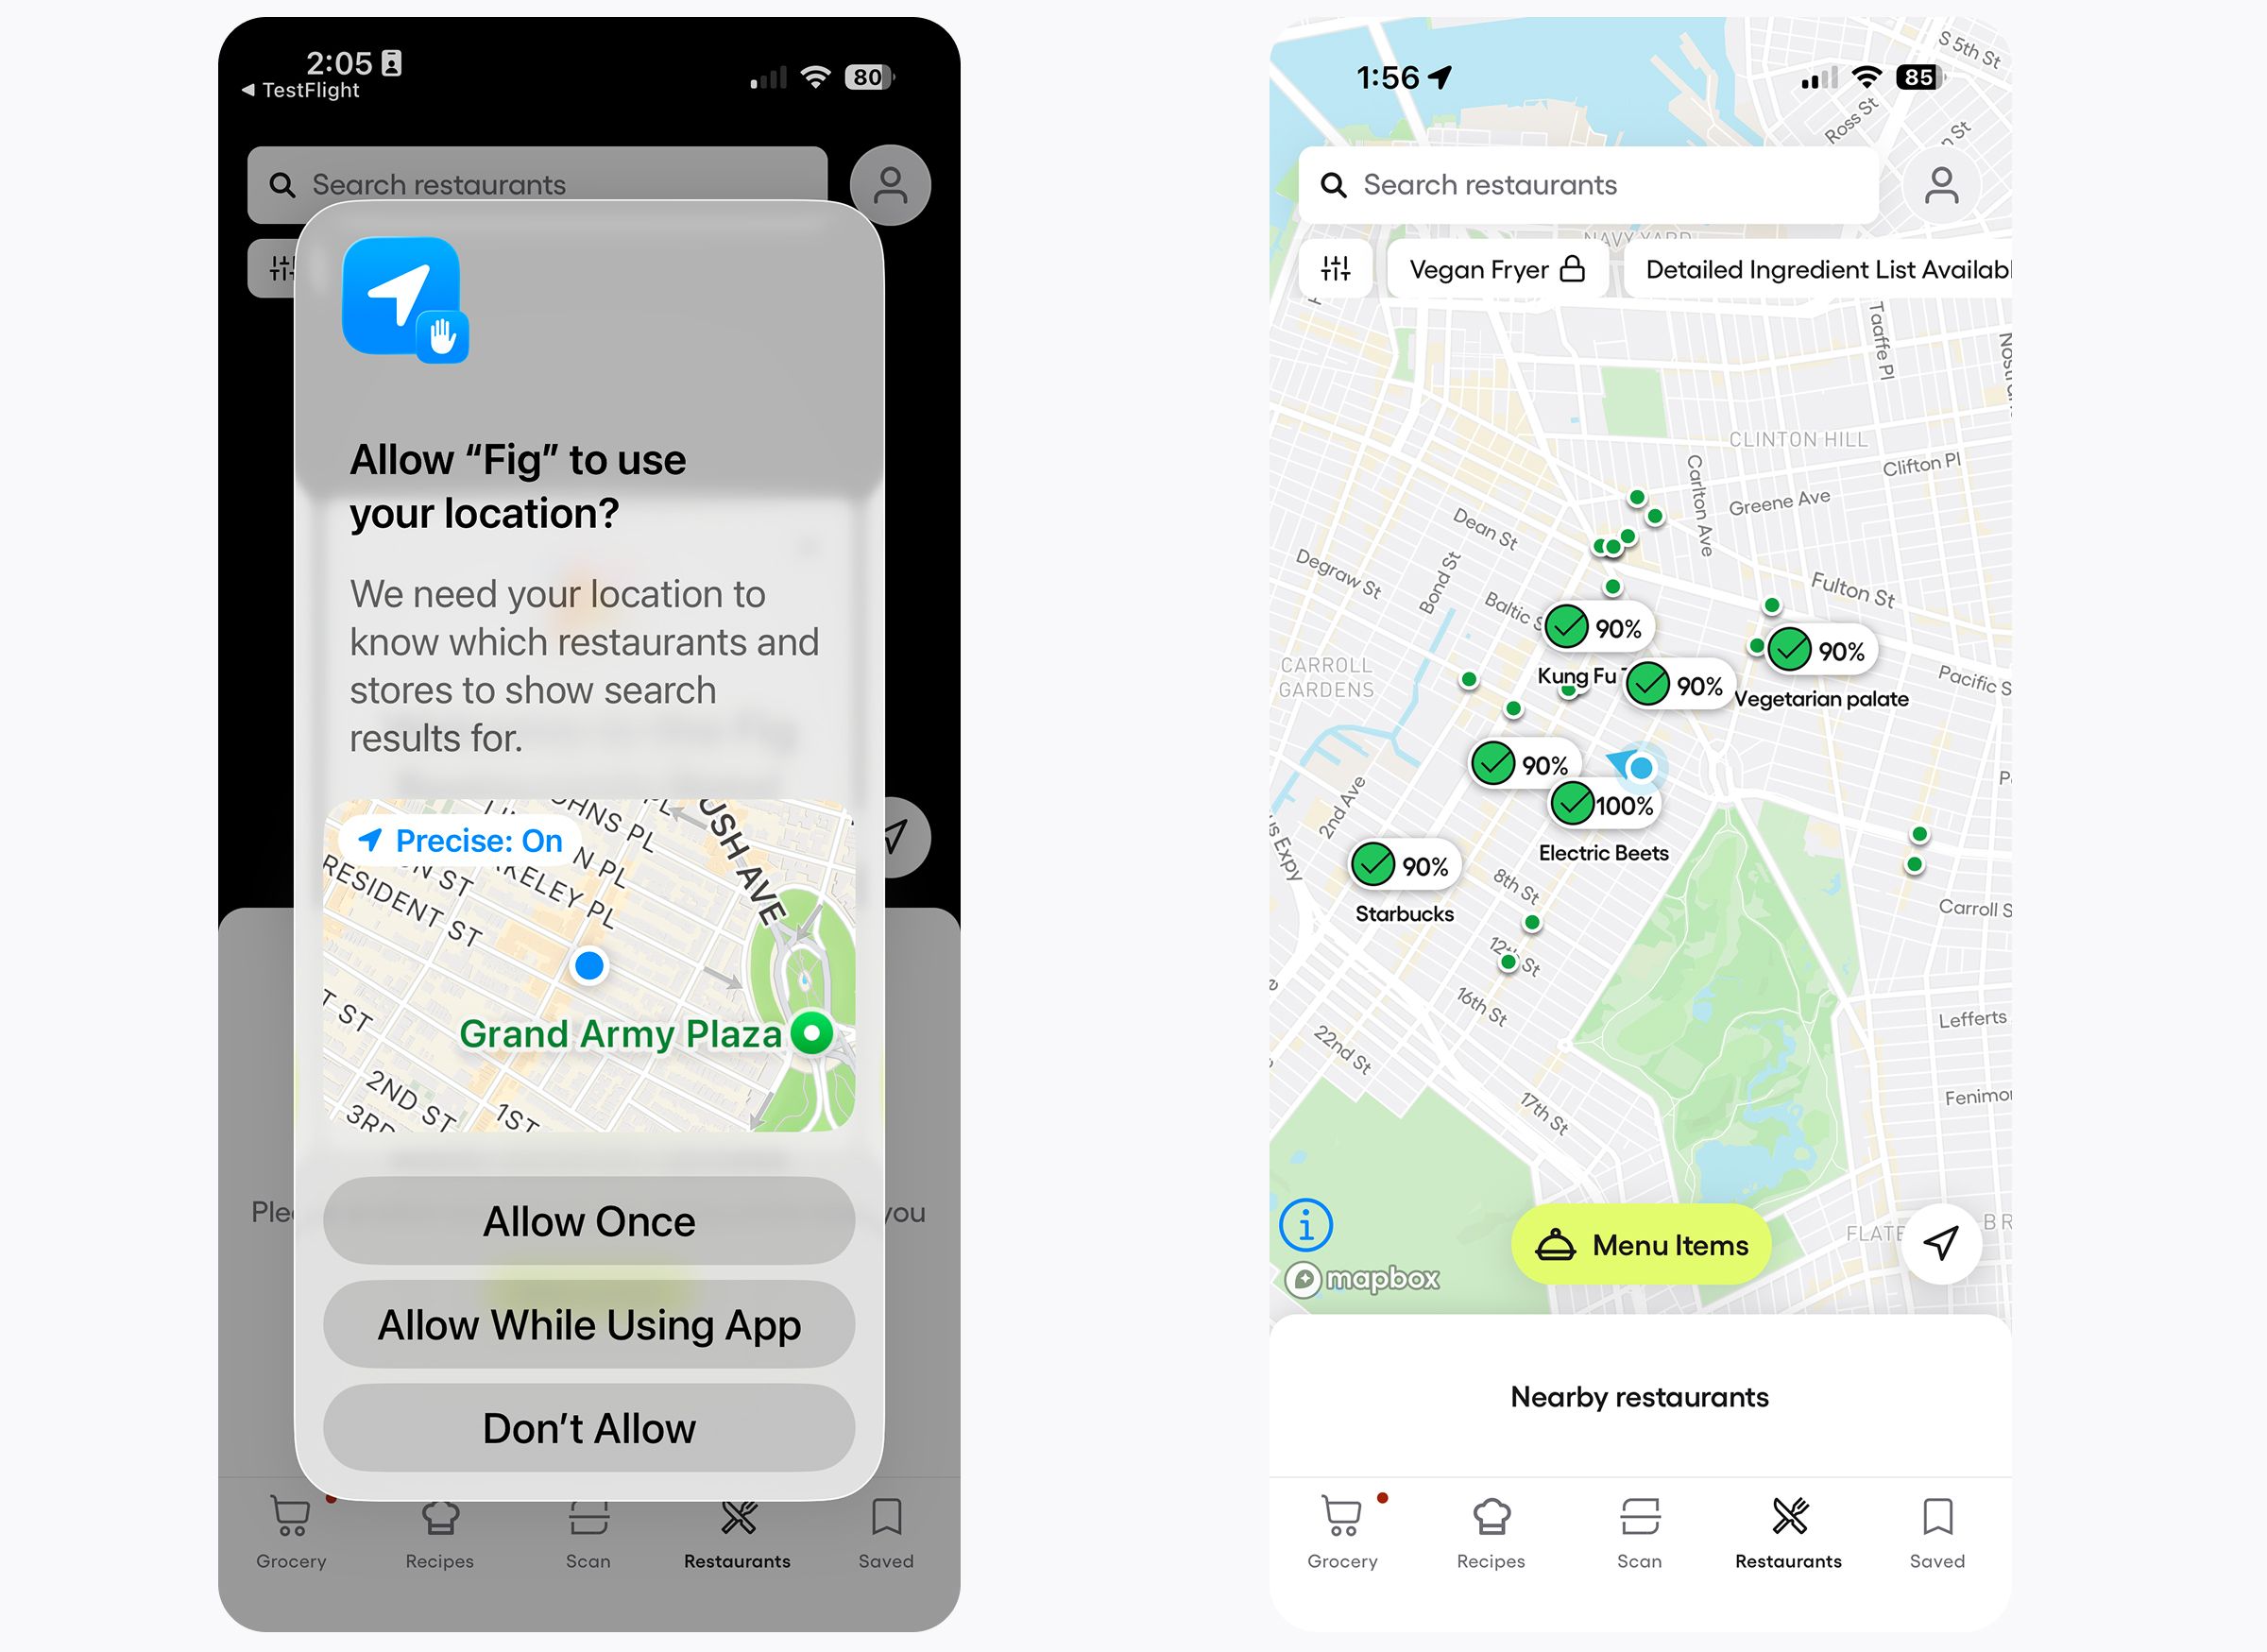
Figはレストラン検索機能の位置データ取得にexpo-locationを使っている。@react-native-community/geolocationから移行したのは、位置データをより細かく制御するためと、より活発にメンテナンスされているライブラリに乗り換えるためだった。
粗い座標と正確な座標の両方を取得している。位置データは十分新しければキャッシュをそのまま使う。これによりマップビューとレストラン検索が近くのレストランを素早く表示できる。位置はcontextに保存し、アプリ全体、特に新しいレストラン検索機能で使っている。
import * as Location from 'expo-location';

// Max age of a cached location in milliseconds
const locationMaximumAge = 3 * 60 * 1000; // 3 minutes
const locationRequiredAccuracy = 11; // meters, just above the LocationAccuracy.High
const approximateLocationRequiredAccuracy = 3001; // meters, just above the LocationAccuracy.Lowest

export const LocationProvider: FunctionComponent<
  PropsWithChildren<LocationProviderProps>
> = ({ children }) => {

  const [coordinates, setCoordinates] = useState<Coordinates>();
  const [approximateCoordinates, setApproximateCoordinates] =
    useState<Coordinates>();

  // You can alternatively use expo-location methods to request permission
  const {
    permissionStatus: locationPermissionStatus,
    triggerRequestPermission: triggerRequestLocationPermission,
  } = usePermission('location');

  const fetchCoordinates = useCallback(
    async (
      setNewCoords: (coords: Coordinates) => void,
      requiredAccuracy: number,
      locationAccuracy: Location.LocationAccuracy,
      maxAge?: number,
    ) => {
      try {
        // Try to use a cached location first
        let location = await Location.getLastKnownPositionAsync({
          requiredAccuracy,
          maxAge,
        });
        if (!location) {
          // If no cached location, get the current position, which may take some time
          location = await Location.getCurrentPositionAsync({
            accuracy: locationAccuracy,
          });
        }

        const newCoordinates = location?.coords;
        setNewCoords(newCoordinates);
        return newCoordinates;
      } catch (e) {
        logFigError('Error getting location', {
          error: e,
        });
      }
    },
    [mockLatitude, mockLongitude],
  );

  const updateLocation = useCallback(async () => {
    const [, newCoordinates] = await Promise.all([
      // Fetch approximate coordinates for faster loading
      fetchCoordinates(
        setApproximateCoordinates,
        approximateLocationRequiredAccuracy,
        Location.LocationAccuracy.Lowest,
      ),
      // Fetch more accurate coordinates for better accuracy
      fetchCoordinates(
        setCoordinates,
        locationRequiredAccuracy,
        Location.LocationAccuracy.High,
        locationMaximumAge,
      ),
    ]);
    return newCoordinates;
  }, [fetchCoordinates]);

  useEffectOnce(locationPermissionStatus === 'granted', () => {
    updateLocation();
  });

  return (
    <LocationContext.Provider value={{ coordinates, approximateCoordinates, updateLocation }}>
      {children}
    </LocationContext.Provider>
  );
};
expo-store-review
Figはコミュニティパッケージに何度か痛い目に遭っている。プラットフォームの更新でAPIが非推奨になると、そうしたパッケージは動かなくなる。
その一例が、iOS 18でSKStoreReviewControllerが非推奨になった後にreact-native-in-app-reviewが動かなくなったことだ。expo-store-reviewのおかげで、Figはユーザーに評価とフィードバックを促す新しいライブラリへ素早く移行でき、対応が必要なすべてのOSバージョンをカバーできた。
この画面の導入は簡単で、多くのコミュニティライブラリと違い、基盤のAPIが変わってもExpoのライブラリはメンテナンスが続いている。
import * as StoreReview from 'expo-store-review';

if (await StoreReview.hasAction()) {
  StoreReview.requestReview();
}
ExpoのOTA Updatesで重要なパッチを配信
2025年3月にApp CenterがCodePushを終了した後、FigはExpo EAS Updatesを採用し、重要な修正と実験的な体験のテストを即座に届け続けた。これによりリリースコードに自信を持てるようになり、本番環境に流れ込むバグにも素早く対応できる。本番ビルドには今もBitriseを使っているが、ExpoのOTA更新システムは高く評価している——必要なときに、重要な更新を安心してユーザーに配信できる。
FigとExpoの今後
Figはメンテナンスの負担を減らし、ビルドの複雑さを抑え、プラットフォームの拡張に合わせて新しいネイティブ機能を引き出すため、さらに多くのExpoモジュールを導入していく。React Nativeのバージョンアップはかつて頭の痛い作業で、問題が起きるまでつい後回しにしていた。
より多くのExpoパッケージに移行するにつれて、アップグレードはより簡単で信頼できるものになり、開発サイクルをあまり消費せずにReact Nativeのサポート対象バージョンにとどまれるようになった。